Build Websites Faster


All of the below are example slideshows. Each one is built using only the block editing interface. No custom code has been added:
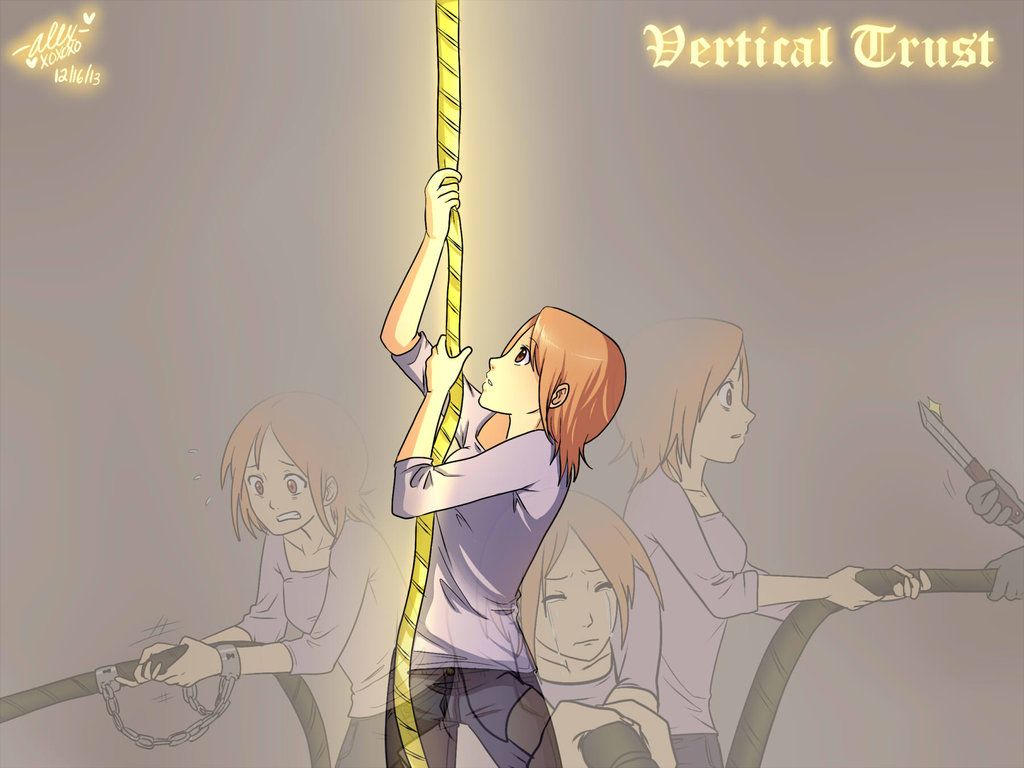

This slideshow displays each slide as an img tag, where the ones above are outputting as CSS backgrounds.
This slideshow is set to have "dynamic" height. So the slideshow adjusts its height based on how big the current slide is. By default, it will calculate the tallest slide of all and set the slideshow to that height.

Automatic slideshow is also disabled because the dynamic height setting can be annoying when the user is no longer viewing the slideshow but the page height keeps changing because of the slideshow.

There is no custom template applied to this slideshow, so it appears the same on mobile as it does desktop.
This slideshow is also using a custom arrow control. You can upload your own arrow image to be used as the arrow control.
( most images used above copied from deviantart )
Documentation
Block Options:
Slides Tab:
Slide Basics:
Select Image.
Clear image ( if you desire later decide to remove the image but keep the slide ).
Title.
Link entire slide to menu item or file manager.
Slide Options:
Slide Order Entry ( i.e. slides number as 1 - 9... etc ).
Order slides by dragging them using the arrow icon.
Remove the slide if desired, or:
Edit the slide details.
Slide Details:
Content Area. ( links can be applied within the content area instead of linking the entire slide, but don't do both )
Options Tab:
Navigation:
Select whether to display navigation controls as left/right arrow buttons, a pager, both, or to not display at all.
Upload a custom navigation arrow instead of using one of the arrow designs found in the "Design" tab.
Flip the control incase your uploaded arrow is pointing the wrong way at first.
Hide the background-color set in the "Design" tab that gets applied to the navigation controls. Useful for custom arrow images.
Slide Duration:
Set the duration each slide will show for before changing to the next. Accepts time in milliseconds, so 4000 millseconds equals one second. Set to 9000 for a 9 second slide duration.
Slide Transition Speed:
Set the time of the transition effect in milliseconds for when slides are changing.
Transition Effect:
How slides are animated in and out.
Auto Height:
Determines how the slideshow's overall height is calculated.
Tallest slide will set the initial slideshow height to the height of the tallest slide in the slideshow.
Dynamic will set the slideshow height to the height of the current slide. Can cause page height to change which can be annoying if no longer viewing the slide. So we suggest disabling automatic slideshow if you choose this method.
Disable Automatic Slideshow:
Stop the slideshow from changing slides on its own.
Pause On Hover:
Stop the slideshow from changing slides if the users mouse is ontop of the slideshow.
Randomize Starting Slide:
Randomizes which slide is the first to show. Does not rearrange the order of the slideshow itself.
Enable Full Width Slideshow:
Will set the slideshow and the slideshow images to take up 100% of its containers width. Put the block in a fullwidth area ( or disable grid-container via Custom Design options on the block ) to display a full-width slideshow.
Display Images as CSS Backgrounds:
Enabling this option will output the slide images as CSS backgrounds on div tags instead of outputting the standard img tag. This option is helpful for design reasons ( such as making full viewport height slideshows ).
Enabling this option reveals a number of new settings that control how to display the CSS backgrounds:
CSS Background Options:
CSS background-size: This CSS property controls how the background-image will fill its containing DIV tag.
CSS background-position: This CSS property controls how the image is aligned within its div tag.
CSS background-repeat: This CSS property controls whether or not the background-image gets tiled.
CSS Background min-height: This CSS property sets a minimum height on the slideshow. Remember not to set it too high or the slideshow may appear to tall on mobile browsers.
CSS Background Height Ratio: This setting applies a padding-bottom: to the slides, giving the slide a set ratio height at all times.
The css background options are all overridable with new settings at the prescribed media-query setting in the "Template" tab if you have a custom template applied.
Design Tab
The design tab is where you control visual properties such as colors and icons used in the slideshow.
Properties are set using slider controls or 4 sided inputs. The 4 sided inputs are for css properties such as padding, which can accept 4 values at once corresponding to top, right, bottom, left ( i.e. padding: 4px 5px 4px 5px ).
Arrow Options:
Arrow padding: This CSS property is applied to each arrow container, enlarging the arrow containers background.
Arrow border-radius: This CSS property will round the edges of the arrow containers.
Control Area padding: This CSS property gets applied to the entire arrows navigation container. It's good for moving the arrows away from the edge of the screen.
Hide controls on mobile / before breakpoint: This setting will allow you to hide the arrow navigation from the slideshow unless the screen width is alteast as wide as the setting applied to the custom template under the the "Template" tab.
Arrow max-width: This CSS property is a good way to shrinken the initial size of the supplied arrow icons.
Color Options:
The interface colors get applied to the arrows and pager areas:
Background color gets applied to the arrow background and to the pagers background.
Foreground color gets applied to the arrow color themselves and to the pagers icons.
Span color gets applied arrow and pager hover colors.
Active pager color sets the color of the active pager element. Otherwise defaults to span color.
Arrow color will override the arrow color instead of using the foreground color setting as its color.
Arrow hover color will override the span color applied to the arrow when hovered.
The content colors get applied to the title and content area:
Content background color sets the background-color on the entire content area.
Content foreground color sets the color of the main text in the content area.
Content span color gets applied to any <span> tags within the content area.
Content link color is applied to links within the content.
Content link hover color is the hover cover applied to links within the content area.
Content title color overrides the title color which otherwise is set to the content foreground color.
Content Padding:
Padding applied to the conent area itself. Good for moving the text off the edges of the content area.
Title Text Align:
How to align the title's text. You can control how the contents text itself is aligned via the content editor interface within each slide.
Title Type:
You decide whether to ouput the title as h2, h3, etc.
Title Size:
This size then gets applied to the tag chosen in title type. This size also gets applied to the chosen title type tag that are within the content area.
Slide padding:
Padding applied to the entire slide element. Can be used to make a rounded edged slideshow when combined with border-radius.
Slide border-radius:
Border radius applied to all edges of the slideshow and its slides.
Interface Hover opacity:
Opacity applied to the arrow elements when hovered.
Interface Hover transition Speed:
How fast to fade to the hover opacity when the arrows are hovered. These 2 settings are good to change when using a custom arrow image.
Content Link Hover transition Speed:
How fast to fade the colors of links within the content area.
Template Tab
The template tab allows you to apply numerous layout settings to change the design and look of the slideshow.
Layout
Default applies nothing extra to the design.
Custom Template reveals new settings that get applied to the slideshow.
Custom Template Options
Apply at this min-width media-query: The following settings will not be applied until the screen width is atleast this wide.
Content max-width: A max width applied to the content area including its background.
Inner content max-width: A max width applied to the content within the content area. Does not include title.
Content Area padding: Outside content area padding. Can be used to move the content area away from the edges of the screen.
Controls max-width: Stop the container containing both arrows at this width. The result will be centered arrows that are closer together.
Controls Area padding: Padding applied to the controls area contained both arrows. Can also be used to move the controls away from the edges of the screen.
Justify Content: Where to place the content area horizontally.
Align Content: Where to place the content area vertically.
Content border-radius: Add a rounded edge to the content area.
Content border-width: Add an outline as a border to the content area.
Content Border Color: The color of the border.
Content Border Style: The style of the border.
Content Foreground Color Override: Overrides the content foreground color set in the "Design" tab at the min-width set above.
Content Background Color Override: Overrides the content background color set in the "Design" tab at the min-width set above.
Content Title Color Override: Overrides the content title color set in the "Design" tab at the min-width set above.
CSS Background Overrides:
The following settings initially set in the "Options" tab can be overriden here and will be applied at the min-width set above:
CSS background-size: (override)
CSS background-position: (override)
CSS background-repeat: (override)
CSS Background min-height: (override)
CSS Background Height Ratio (override)